

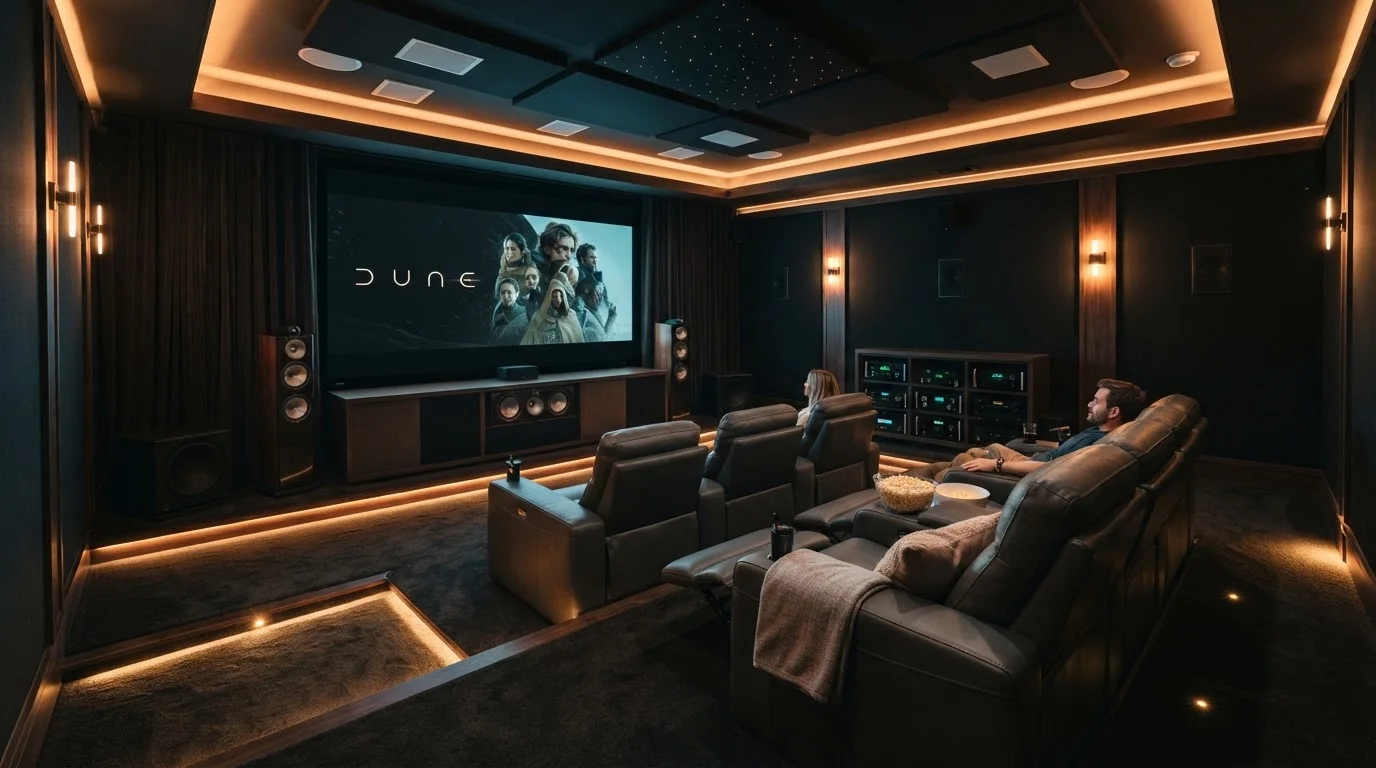
Understanding the Core Components
A home theater audio system is a collection of interdependent components, and understanding how they connect gives you a much clearer sense of where to invest your attention and budget. Before spending anything, read through our beginner's guide to home audio for a grounding in how these systems work.
At its core, every system includes four building blocks:
- Source components - streaming devices, Blu-ray players, or gaming consoles that generate audio signals.
- An AV receiver - the central processor and amplifier that decodes audio formats and drives your speakers.
- Speakers - the transducers that convert electrical signals into sound waves you actually hear.
- Cabling and connections - HDMI, speaker wire, and optical or coaxial cables that link everything together.
If you're unsure about terminology like impedance, crossover frequency, or channel configuration, the home audio terminology reference defines those terms in plain language before you shop.
Plan Before You Purchase
Sketch your room layout and mark your primary listening position before selecting any components. Knowing your seating distance and wall dimensions helps you determine the appropriate speaker configuration and subwoofer count - and prevents buying hardware that physically won't fit your space.
Choosing the Right Speaker Configuration
Speaker configuration describes how many speakers your system uses and where they're positioned. The naming convention follows a simple pattern: the first number is the count of full-range speakers, and the second is the number of subwoofers (which handle deep bass).
- 2.1 - Two front speakers plus a subwoofer. A solid starting point for smaller rooms or budget-conscious builds.
- 5.1 - Two front, one center, two surround speakers, one subwoofer. The most common home theater layout. See the full 5.1 setup walkthrough for placement details.
- 7.1 - Adds two additional rear surround speakers for larger rooms with more distance behind the listening position.
- Dolby Atmos / DTS:X - Object-based formats that add height channels via ceiling-mounted or upward-firing speakers, creating a three-dimensional sound envelope.
Not sure whether a full speaker system or a simpler solution suits your space? The comparison of soundbars, bookshelf speakers, and home theater systems breaks down who each format is actually built for.
5.1
Most common home theater speaker layout
Industry data consistently shows 5.1 channel systems as the dominant configuration in dedicated home theater installations across North American households.
80 Hz
Standard subwoofer crossover frequency
The THX reference standard recommends an 80 Hz crossover point as a starting baseline, directing bass frequencies to the subwoofer while satellites handle mid and high range.
Selecting an AV Receiver
The AV receiver - sometimes called an AVR - is the brain of your system. It decodes multi-channel audio formats (Dolby Atmos, DTS:X, and others), amplifies the signal to each speaker, and manages all your source inputs through a single interface.
Key specifications to evaluate:
- Channel count
- Match the receiver's channel count to your speaker configuration. A 7.2-channel receiver supports up to seven speakers and two subwoofers.
- Power output (watts per channel)
- More watts isn't always better - matching output to speaker sensitivity ratings matters more than raw wattage.
- Impedance compatibility
- Most home speakers are rated at 6 or 8 ohms. Confirm your receiver is stable at your speakers' rated impedance to avoid overheating or damage.
- Supported audio formats
- Look for Dolby Atmos and DTS:X decoding if you plan to use height channels. Legacy formats like Dolby TrueHD and DTS-HD Master Audio are worth having for physical disc playback.
- HDMI version
- HDMI 2.1 supports 4K/120Hz and eARC (enhanced Audio Return Channel), which is important if your TV is a primary source.
Check eARC Support on Both Devices
eARC (enhanced Audio Return Channel) allows lossless, multi-channel audio to pass from your TV back to the receiver over a single HDMI cable - but both your TV and your receiver must support eARC for it to function. If either device only supports standard ARC, audio will be downmixed or compressed. Verify compatibility in each device's specification sheet before relying on this connection.
Room Acoustics and Speaker Placement
Room acoustics are often the single biggest variable in how a system sounds - and they're frequently overlooked in favor of hardware upgrades. Hard, parallel surfaces (bare walls, hardwood floors, large windows) cause sound waves to bounce and combine in ways that create frequency buildups and muddiness. Soft materials - rugs, upholstered furniture, curtains, and acoustic panels - absorb reflected energy and tighten the sound.
General speaker placement guidelines:
- Front left and right speakers should form an equilateral triangle with your primary listening seat, typically angled (toed-in) slightly toward the listener.
- Center channel goes directly above or below the display, aligned with the screen's center axis.
- Surround speakers in a 5.1 layout sit to the side of the listening position, roughly at ear height or slightly above.
- Subwoofer placement affects bass distribution significantly - corners amplify bass output but can create uneven response. The "subwoofer crawl" method (temporarily placing the sub at your listening position and walking the room while music plays) helps identify where bass sounds most even.
Before buying acoustic panels, try repositioning existing furniture and adding a large area rug - these changes are free and often reduce problematic reflections significantly.
Hard surfaces are the primary cause of room-mode issues in home theaters, and soft furnishings are the most cost-effective first line of treatment before investing in dedicated panels.
Set your receiver to the 'large' speaker setting only for speakers with woofers 6.5 inches or larger - let smaller satellite speakers redirect bass to the subwoofer via the crossover.
Forcing small speakers to reproduce low bass they cannot efficiently handle increases distortion and reduces dynamic headroom, degrading the overall sound signature of the system.
Wiring, Connections, and Signal Flow
Clean wiring isn't just cosmetic - it protects signal quality and simplifies future troubleshooting. Before you run any cables, answer the planning questions in the pre-build planning checklist so you know exactly which cable runs are needed.
Key connection types:
- HDMI (with ARC/eARC) - carries both high-definition video and high-quality audio over a single cable from TV to receiver.
- Optical (TOSLINK) and coaxial digital - carry audio from source devices but are limited to stereo or compressed surround formats; they cannot carry lossless multi-channel audio.
- Speaker wire - connects the receiver's binding posts to each speaker. Heavier gauge wire (lower AWG number) is appropriate for longer runs or lower-impedance speakers.
- Banana plugs and spade connectors - optional termination hardware that makes it easier to connect and disconnect speaker wire cleanly.
If your system will integrate with voice assistants or a smart home hub, the Smart Home Devices hub covers how connected audio components fit into broader home automation ecosystems.
Never Mix Impedance Ratings Carelessly
Connecting speakers with a lower impedance than your receiver is rated for - for example, 4-ohm speakers on a receiver only stable down to 6 ohms - can cause the receiver to overheat and shut down or sustain internal damage. Always confirm impedance compatibility in both the receiver's and speakers' specifications before wiring them together.
Calibrating Your System for Best Sound
Calibration adjusts speaker levels, distance measurements, and equalization so the receiver delivers balanced, accurate sound regardless of your room's quirks. Most modern AV receivers include an automatic calibration tool - Audyssey, YPAO, AccuEQ, and MCACC are common examples depending on the manufacturer. These systems use a supplied microphone placed at the listening position (and several additional positions) to measure how sound arrives at your ears, then apply corrections automatically.
Steps in a typical calibration routine:
- Place the calibration microphone at ear height in your primary listening seat.
- Run the automatic measurement process - the receiver emits test tones through each speaker in sequence.
- Review the results: confirm speaker sizes, distances, and crossover frequencies look reasonable before saving.
- If your receiver allows manual trim adjustments, use a sound-level meter app to verify each channel reads within 1-2 dB of the others at the listening seat.
Calibration is not a one-time task. If you rearrange furniture, add acoustic treatment, or move a speaker, re-run the process. A recalibrated system after a room change consistently outperforms an uncalibrated system in the same space.
“Room acoustics are the most underrated element of audio system design. You can spend a great deal on speakers, but if the room works against you, the system will never reach its potential.”
— Floyd Toole, Acoustical engineer and author, known for research in psychoacoustics and loudspeaker design
The content on this site is for informational purposes only and is not a substitute for professional advice. Always consult a qualified professional for guidance specific to your situation.