

What You Need Before You Start
If you're new to home audio, it's worth reviewing the fundamentals of how sound systems work before purchasing components. A 5.1 system is a meaningful step up from a soundbar - for a clear breakdown of the differences, see our guide on soundbars, bookshelf speakers, and home theater systems.
Gather everything listed below before you begin. Running out of cable mid-install is a common frustration that a few minutes of planning prevents.
What you will need
AV Receiver
Acts as the central hub, amplifying audio signals and routing them to each of the five speakers and subwoofer.
Speaker Wire
Carries audio signal from the receiver's binding posts to each passive speaker.
Subwoofer Cable (RCA)
Connects the receiver's subwoofer pre-out to a powered subwoofer's input.
Wire Stripper
Removes insulation from speaker wire ends to expose bare copper for terminal connections.
Banana Plugs
Snap onto stripped wire ends for cleaner, tool-free connections at receiver and speaker binding posts.
Calibration Microphone
Usually included with the receiver; used during auto-calibration to measure room acoustics at the listening position.
Cable Ties or Velcro Wraps
Bundles and secures cables along baseboards or furniture to prevent tripping hazards.
Step-by-Step Setup Instructions
Follow these steps in order. Skipping ahead - especially powering on the receiver before speaker wires are secure - risks damaging components.
Position Your Speakers
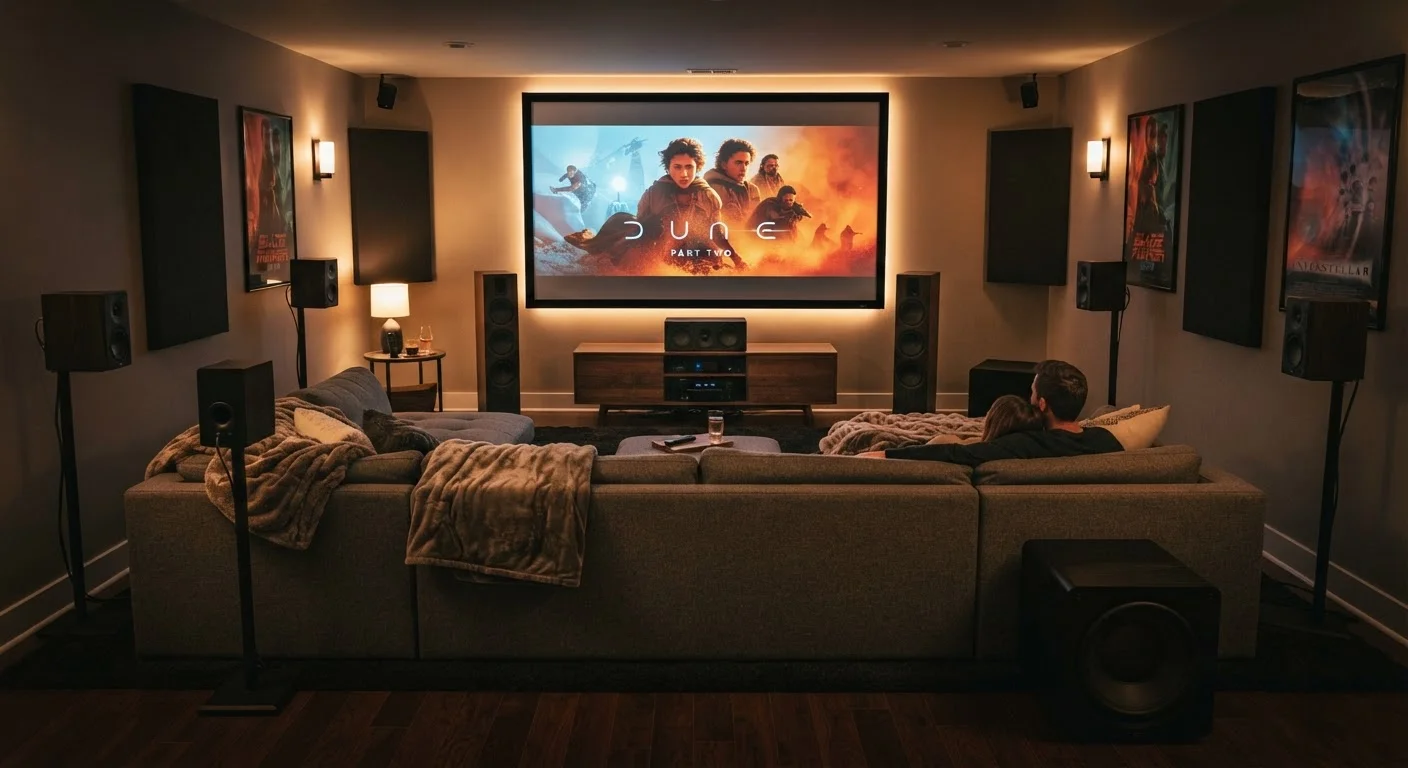
Place the center channel speaker directly above or below your TV, aimed at ear level. Set the front left and right speakers at roughly 22-30 degrees off-center from your primary seating position, tweeters at ear height. Place surround speakers to the sides of your seating area, approximately 90-110 degrees from center, elevated slightly above ear level. The subwoofer can go anywhere in the front half of the room - along a wall or in a corner typically produces the most bass output, though room acoustics vary.
Run and Label Your Speaker Cables
Cut speaker wire runs for each position, leaving a few extra inches at each end. Strip approximately 3/4 inch of insulation from each wire end. Label every cable at both ends using masking tape - write the channel name (e.g., FL for front left, SR for surround right) to avoid confusion at the receiver. Route cables along baseboards or under rugs where possible, and secure with cable ties.
Connect Speakers to the Receiver
On the back of the receiver, locate the labeled speaker binding posts (FL, FR, C, SL, SR). Insert the bare wire or banana plug into the correct terminal, red to positive (+) and black to negative (−). Tighten binding posts firmly - loose connections cause distortion and intermittent dropouts. Connect the subwoofer cable from the receiver's SUB OUT or PRE OUT port to the subwoofer's LFE IN or LINE IN jack.
Connect Source Devices and TV
Run HDMI cables from your source devices (streaming player, game console, Blu-ray player) into the receiver's HDMI input ports. Run a single HDMI cable from the receiver's HDMI OUT (ARC/eARC) port to your TV's matching ARC or eARC HDMI port. This setup lets the receiver decode audio from all sources and also receive audio from the TV's built-in apps through the same cable. Enable HDMI CEC in both the TV and receiver menus so they can control each other's power and volume.
Power On and Run Auto-Calibration
Turn on the receiver and TV. Navigate to the receiver's setup menu - most units launch a setup wizard automatically on first boot. Place the included calibration microphone on a stand or stack of books at ear height in your main listening seat. Follow the on-screen instructions to run the auto-calibration routine. The receiver will emit test tones from each speaker, measure the results, and configure speaker distances, sizes, and levels automatically.
Test and Adjust
Play a movie or TV show with an active surround mix. Most receivers include a test tone feature in the speaker settings menu that pans audio around the room - use this first to confirm every speaker is producing sound. Then listen critically: dialogue should appear to come from the screen (center channel), ambient effects from the sides (surround speakers), and bass from the subwoofer without overwhelming the mix. Make small level adjustments - 1-2 dB at a time - in the receiver's speaker level menu until the balance feels natural.
Match Impedance Before Powering On
Every receiver specifies a minimum speaker impedance it can safely drive - commonly 6 or 8 ohms. Connecting speakers with lower impedance than the receiver supports forces the amplifier to draw excess current, which can cause overheating or permanent damage. Check both your receiver's manual and each speaker's spec sheet before making any connections.
Calibration and Fine-Tuning
Auto-calibration (commonly labeled MCACC, Audyssey, or YPAO depending on your receiver brand) uses a supplied microphone to measure room acoustics and set speaker distances, levels, and equalization automatically. Place the microphone at ear height in your primary listening seat and follow the on-screen prompts. Most systems take five to ten minutes to complete the measurement sequence.
After auto-calibration, check two things manually: first, confirm the subwoofer crossover frequency (the point where bass transitions from your main speakers to the sub) is set between 80 Hz and 120 Hz for most speaker sizes. Second, play a familiar movie scene with distinct directional audio - a car passing or a helicopter overhead - and verify that sound tracks smoothly from speaker to speaker. If dialogue sounds thin or distant, raise the center channel level by 1-2 dB in the receiver's speaker level menu.
Give Your Ears Time to Adjust
After calibration, your initial impression may feel unfamiliar compared to TV speakers or a soundbar. Spend a few listening sessions before making significant level changes - your perception of a well-balanced mix often improves after your ears acclimate to true surround sound. Minor adjustments after a week of listening tend to be more accurate than changes made in the first hour.
For readers interested in expanding beyond 5.1 in the future, our article on what Dolby Atmos means for your living room explains how overhead audio channels work and when upgrading is worthwhile. If you're still deciding whether a full surround setup fits your space, this comparison of soundbars versus full surround may help you confirm your choice.
The content on this site is for informational purposes only and is not a substitute for professional advice. Always consult a qualified professional for guidance specific to your situation.