

Summary
18 items · 30-60 minutes
Why a Structured Inspection Matters
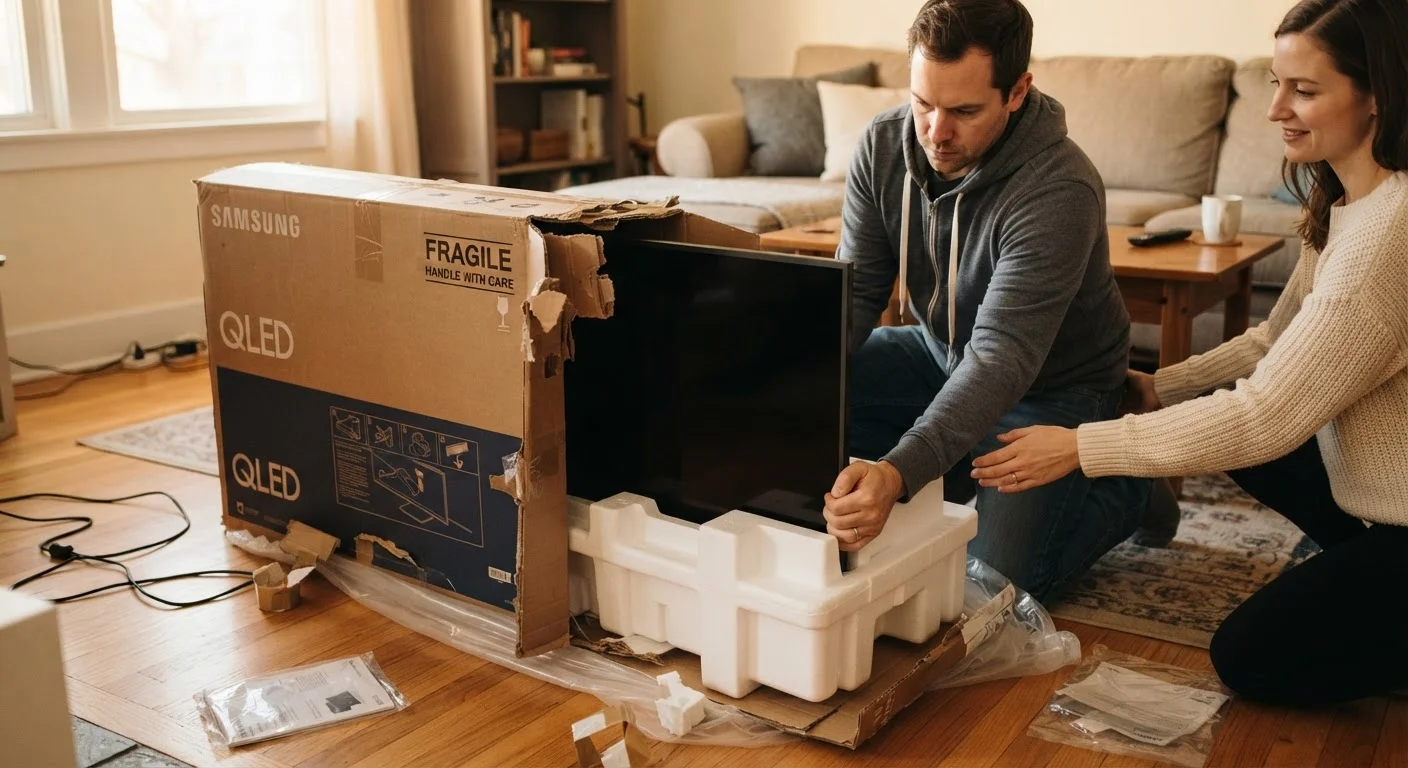
Unboxing a new television is satisfying - but skipping a systematic check can mean living with a defect you didn't notice until your return window has closed. Panel issues, firmware gaps, and port mismatches are all easier to address on day one than six weeks later.
This checklist is designed to walk you through every meaningful verification step in a logical order: physical condition first, then panel quality, then connectivity, then software. Think of it as a final quality handoff between the factory and your living room.
If you're still deciding which panel technology suits your space, our guide on OLED, QLED, and LED panel differences is a useful foundation. And if you want to understand the spec-sheet language you'll encounter in menus and manuals, the TV spec sheet glossary covers the key terms plainly.
Physical & Packaging Inspection
Panel Quality Tests
Ports & Connectivity
Software & Firmware
Audio Verification
What You'll Need for This Inspection
Most of the verification steps here require only what came in the box plus a few household items. A couple of optional tools make panel-uniformity testing more reliable.
Test pattern video files or app
Used to display solid-color screens and test patterns for pixel, uniformity, and color checks.
USB flash drive
Lets you play video clips directly from the TV to test USB ports and local media playback.
HDMI 2.1 source device (gaming console or media player)
Needed to confirm high-bandwidth HDMI ports are functioning at 4K 120Hz or VRR specification.
Smartphone with a manufacturer support app or browser
Used to look up the current firmware version on the manufacturer's support page for comparison.
For OLED owners: panel uniformity checks are especially worth doing carefully. Our article on OLED burn-in risk explains why early-use habits matter for long-term panel health.
Document Issues Before Your Return Window Closes
Most retailers allow returns or exchanges within 15 to 30 days of purchase. If you discover a defect - dead pixels, significant backlight bleed, or a non-functioning port - photograph or record it immediately and contact the retailer or manufacturer promptly. Waiting too long can shift the burden to a warranty claim process, which is typically slower and more involved than a straightforward return.
After the Checklist: Getting Your Picture Right
Once you've confirmed the TV is physically sound, its ports work correctly, and its firmware is current, you're ready to calibrate. Avoid accepting the factory "Vivid" or "Dynamic" picture mode as your permanent setting - these modes are typically tuned for bright showroom floors, not home viewing environments. Our piece on why TVs look different at home than in stores explains exactly why that gap exists.
If you're setting up your first TV and want a broader grounding before diving into settings, everything first-time TV shoppers should know covers the concepts you'll encounter. For a broader framework on evaluating any electronics purchase, the product research hub offers useful general guidance.
Never Calibrate Before Updating Firmware
Firmware updates can reset picture mode settings, color profiles, and even toggle features on or off. If you spend time calibrating your display before updating, you may need to redo that work from scratch. Always update firmware first, allow the TV to restart fully, then proceed with calibration. This single step saves significant time and prevents calibration drift from going unnoticed.
The content on this site is for informational purposes only and is not a substitute for professional advice. Always consult a qualified professional for guidance specific to your situation.