

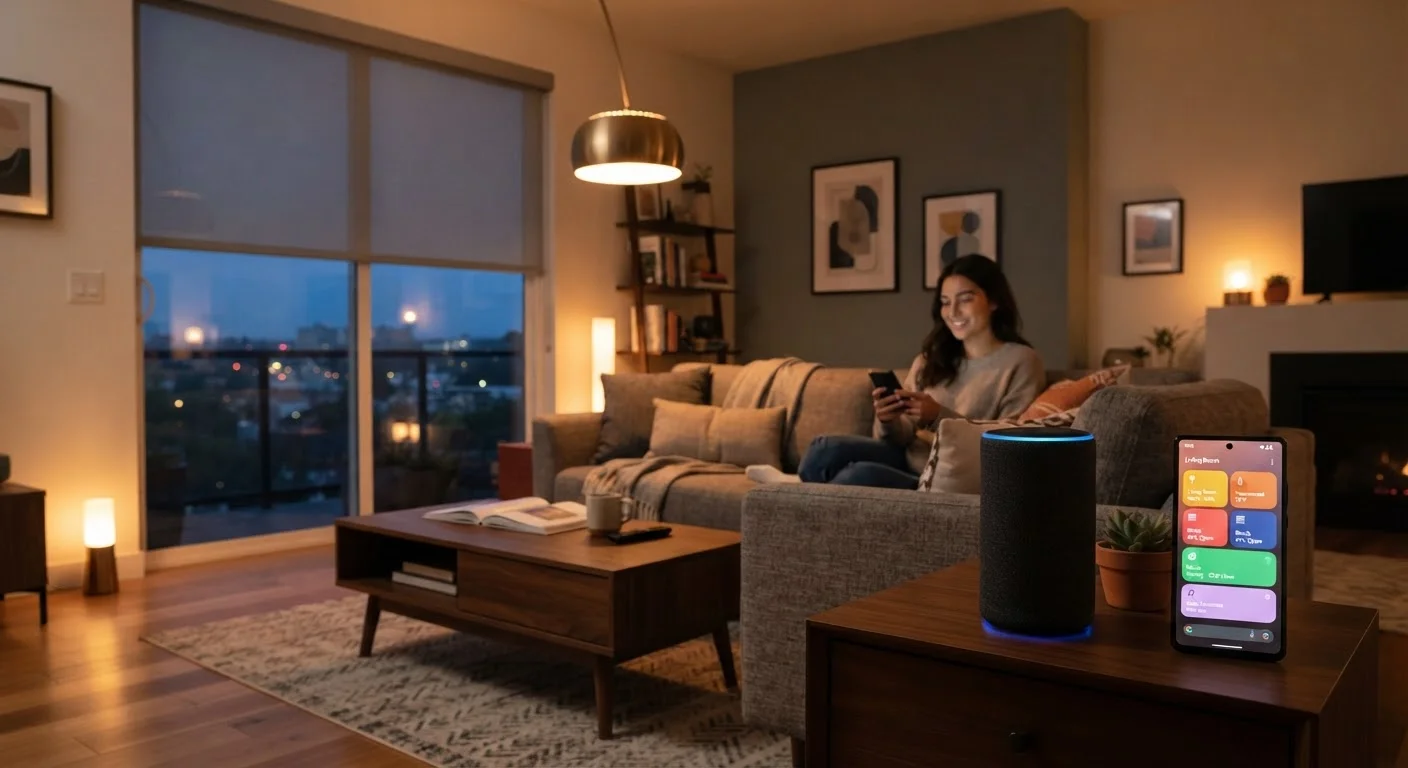
Why Individual Devices Are Just the Starting Point
A smart bulb you tap on from your phone is convenient. A smart bulb that dims automatically when you start a movie, turns off when you leave the house, and fades on gently fifteen minutes before your alarm goes off - that's a different category of useful. The gap between those two experiences is automation.
Automations (sometimes called routines, scenes, or rules depending on your platform) are instructions that tell one device to do something in response to something else - a time, a location, a sensor reading, or another device's state. They're what transform a collection of individually smart gadgets into a home that behaves intelligently on your behalf.
If you're new to how these devices connect and communicate in the first place, this plain-language breakdown of smart home technology covers the foundational concepts worth understanding before building automations. For a broader look at the full smart home journey, see the complete smart home picture from first device to full setup.
What you will need
What You Need Before You Start
Before writing your first automation, confirm that your ecosystem is ready to support it. Most automations fail not because the logic is wrong, but because a foundational piece - a hub, a shared protocol, or device compatibility - is missing.
Smart Home Hub or Controller App
Acts as the central brain that receives triggers and sends instructions to devices - without one, devices can't communicate across brands.
Motion or Contact Sensors
Provide event-based triggers (motion detected, door opened) that kick off automations without any manual input.
Smart Plug or Smart Switch
Adds automation capability to non-smart appliances by controlling their power state remotely or on a schedule.
Voice Assistant Device
Enables voice-activated routines and can serve as an additional trigger or output endpoint within a broader automation.
Once your devices are connected to a shared platform, you're ready to define what should happen and when.
Building Your First Automation: Step by Step
The process below applies broadly across major smart home platforms - whether you're using a dedicated hub or a smartphone-based app ecosystem. Interface labels vary, but the underlying logic is consistent.
Choose one specific task to automate
Pick something you do manually every day - turning off lights when you leave, adjusting the thermostat at bedtime, or locking the front door at a set time. The more concrete and repetitive the task, the better candidate it is for automation.
Identify the trigger
Every automation starts with a trigger - the event that sets it in motion. Common trigger types include:
- Time-based: Runs at a specific time or on a schedule (e.g., every weekday at 7 a.m.)
- Location-based: Fires when your phone arrives at or departs from a geographic area (geofencing)
- Device state: Responds when another device changes state (e.g., a contact sensor detects a door opening)
- Sensor reading: Triggers when a value crosses a threshold (e.g., temperature drops below 65°F)
Define the action
The action is what happens when the trigger fires. In your hub or app, navigate to the automation builder and select the target device, then specify the exact state you want it to reach - on/off, a specific brightness level, a thermostat setpoint, a lock state, and so on.
Add conditions if needed
Conditions are optional filters that prevent an automation from running when circumstances make it inappropriate. For example: only dim the lights when motion is detected and the sun has already set. Most platforms call these "conditions" or "only if" clauses.
Save and test in isolation
Save the automation, then trigger it manually - most platforms have a "test" or "run now" button. Watch what actually happens, not just what the app confirms. Verify the device responds correctly before layering this automation with others.
Iterate and expand
Once the first automation runs reliably for several days, build on it. Add a second device to the same trigger, or create a new automation that depends on the first one completing. Expand incrementally - each addition should be tested before the next is added.
Start With a 'Good Morning' or 'Good Night' Routine
These two routines - one that activates when you wake, one when you go to bed - are the most reliably useful automations for most households. They tend to involve lighting, thermostat, and lock state, which are devices most people already own. Getting these two right gives you a working template for everything else you build.
Once you're comfortable with single-trigger automations, you can explore which routines genuinely stick and which ones people abandon - it's a useful reality check before you invest time in complex chains.
Common Pitfalls and How to Avoid Them
Even well-designed automations can misbehave. The most common culprits are:
- Conflicting automations: Two routines targeting the same device with contradictory instructions will fight each other. Map out your automations on paper before you build them.
- Overly complex chains: An automation that depends on five conditions all being true simultaneously is fragile. Build incrementally and test at each stage.
- Network dependency: Cloud-dependent devices stop working when your internet goes down. Local-processing hubs are more resilient for critical automations like locks or alarms.
- Notification fatigue: Automations that send a phone alert every time they trigger become noise. Reserve notifications for genuinely actionable events.
Security-Critical Devices Need Extra Scrutiny
Automations that control locks, garage doors, or alarm systems carry higher stakes than lighting routines. Before enabling these, confirm that the automation triggers only under conditions you fully control, and test edge cases - like what happens if a trigger fires unexpectedly at 3 a.m. Always retain the ability to override any security automation manually.
If you want a smarter way to think about scheduling - a skill that transfers well to designing automation logic - this guide on calendar and scheduling apps offers transferable thinking about structure versus complexity. When you're ready to think about building out a larger system, this guide on setting up your first smart home in order can help you prioritize what to add next.
Keep Your Ecosystem Consistent
Mixing devices from incompatible ecosystems is the single most common reason automations fail to work reliably. Before purchasing additional devices, verify they share a protocol - such as Matter, Zigbee, or Z-Wave - or are explicitly supported by your hub. Adding an incompatible device doesn't just break that device's automations; it can destabilize others that share the same hub resources.
The content on this site is for informational purposes only and is not a substitute for professional advice. Always consult a qualified professional for guidance specific to your situation.